

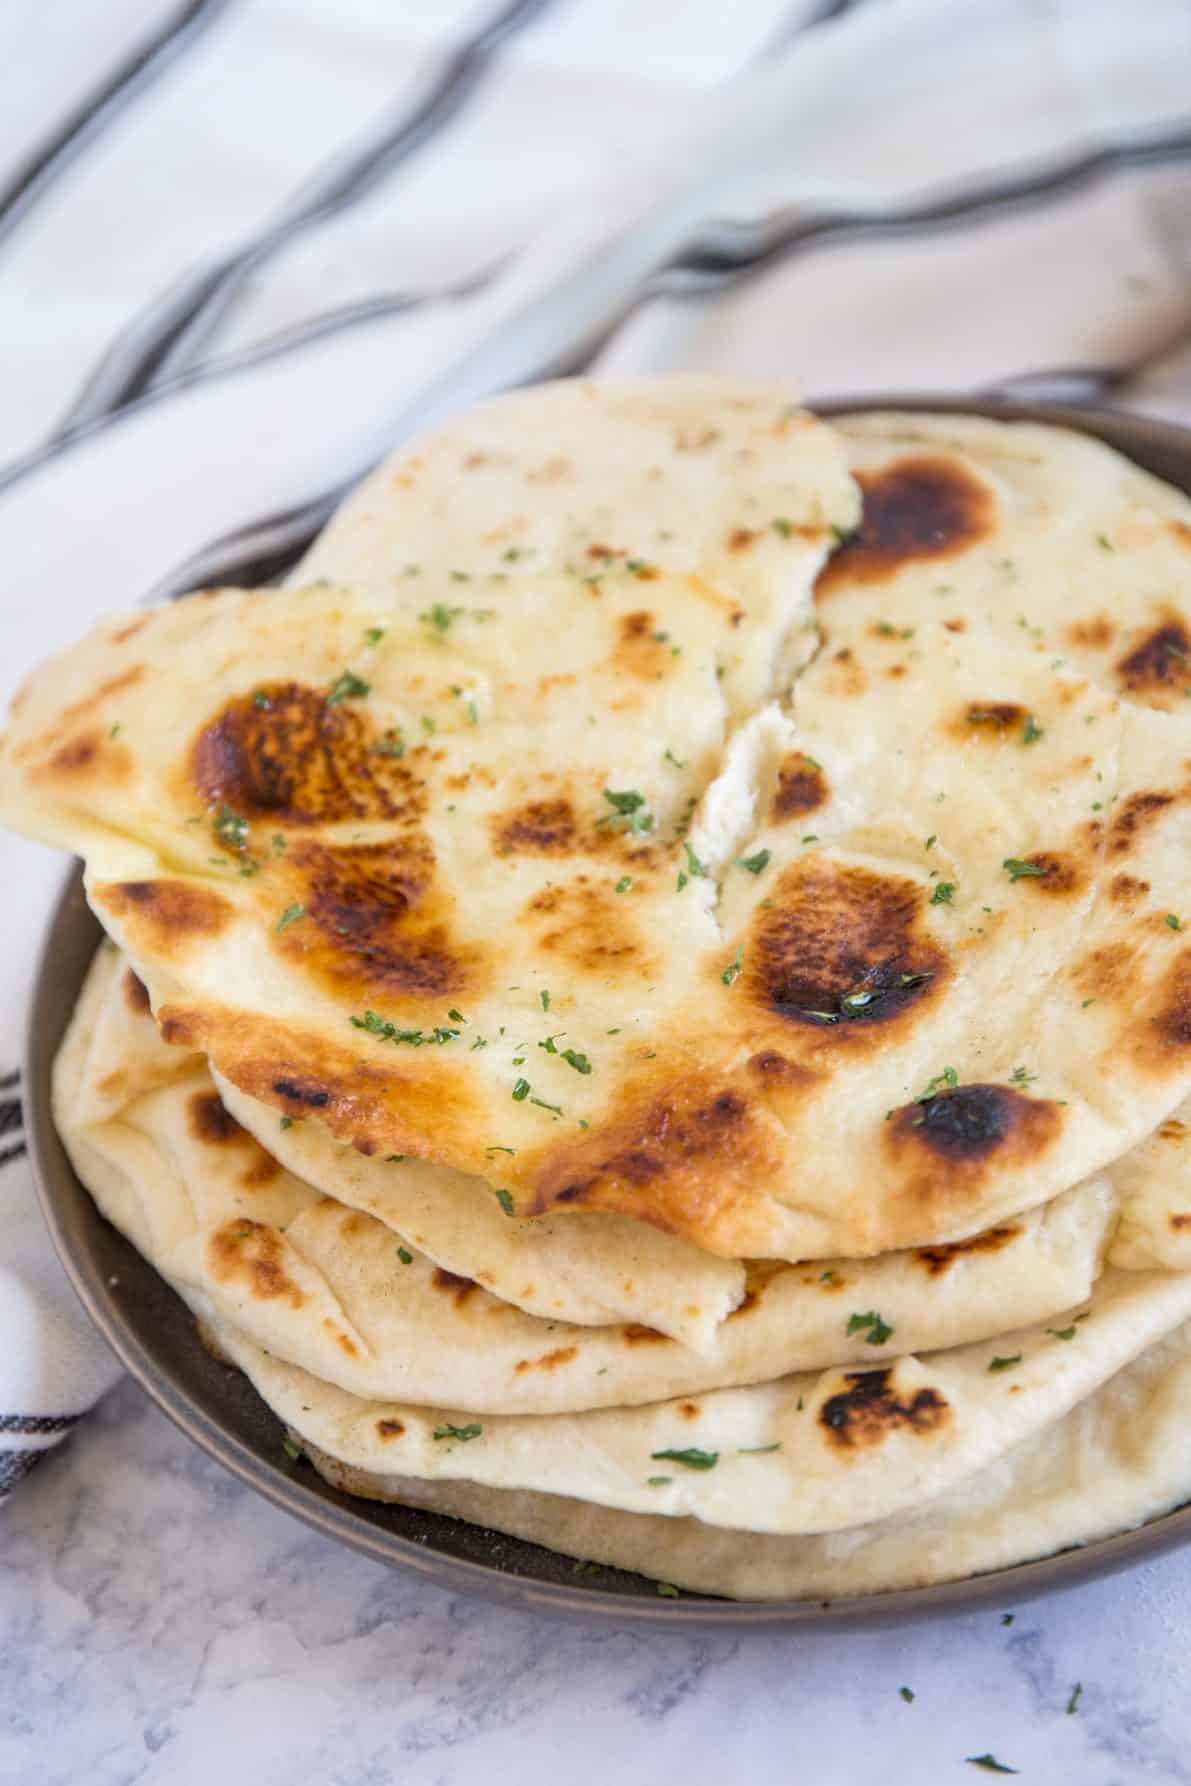
This Easy Homemade Pita Bread Recipe transforms five simple ingredients into the best warm, pillowy pitas you've ever had. With just a little effort, you'll be saying goodbye to store-bought pita bread for good!
Try a warm piece of pita bread with some homemade Garlic Hummus! They're a match made in heaven!
🔍 Quick Look: Easy Homemade Pita Bread Recipe
- 🕒 Ready In: 1 hour 30 minutes
- 🍴 Servings: 8 pitas
- 🔥 Calories: ~161 per serving
- ⭐ Main Ingredients: Flour, yeast, olive oil
- 📖 Dietary Info: Vegetarian, vegan, low-fat, dairy-free
- 👩🍳 Method: Skillet or oven
- ⭐ Difficulty: Beginner
I have never been a fan of the store-bought pita bread. I always feel like it has way too many weird ingredients, and it's so dense.
I've decided to take matters into my own hands and figure out how to make my own warm and fluffy pita bread! Once you try this recipe, you'll never go back.
Make it a meal and serve homemade pita bread with my Greek Chicken Gyros and Greek Tzatziki Sauce, and even try some Middle Eastern cuisine like my Egyptian Cucumber and Tomato Salad and Crispy Falafel Recipe.
Made that for dinner last night and they were SO GOOD! Will never buy pita again...Thank you for this simple yet delicious recipe!
-Sam
Jump to:
❤️ Why You'll Love This Recipe
- Soft and Fluffy - Don't buy any more of those tough, dense store-bought pitas! These beautiful homemade pitas turn out soft and fluffy every time.
- Made with Simple Pantry Staples - Just a few basic ingredients (we're talking flour and olive oil) are used to create this fresh, warm bread. I bet you already have these ingredients on hand!
- Super Easy to Make - With only a little bit of kneading, rise time, and a hot skillet, you'll have restaurant-quality pita bread ready to enjoy in no time!
🛒Key Ingredients
- All-Purpose Flour: I love using all-purpose flour in this recipe because it gives the bread the perfect soft and chewy texture.
- Active Dry Yeast: Yeast is what makes the dough rise and gives it those beautiful air pockets on the inside.
- Olive Oil: Gives the dough a subtle, rich flavor and keeps it soft.
See the recipe card below for full information on ingredients and quantities.
🔄 Substitutions & Variations
- All-Purpose Flour: AP flour works best, but you can swap up to half of it for whole wheat flour for a heartier bread. I recommend not going fully whole wheat though as it will make the pitas too dense.
- Active Dry Yeast: Instant yeast can also be used instead.
- Olive Oil: Any neutral oil like avocado or vegetable will work too.
- Parsley and Garlic: Swap out the parsley and garlic for a sprinkle of my Homemade Greek Seasoning for extra flavor.
🫓 How to Make This Easy Homemade Pita Bread Recipe
- Mix the water, yeast, and sugar together in the bowl of a stand mixer. Let sit until the yeast is dissolved, about 5 minutes.
- Attach the dough hook. Add in the flour, salt, and olive oil. Mix the dough on medium speed for 8 minutes. The bread can also be kneaded by hand on a floured surface for 5-7 minutes or until smooth.
- Lightly oil the bowl before covering with plastic wrap. Let the dough rise until doubled in size, about 1 hour.
- Once risen, turn the dough onto a floured surface. Divide the dough into 8 pieces, rolling each piece into an 8-inch circle. Add extra flour if the dough starts to stick to the counter. If the dough starts to spring back after rolling, allow dough to rest for up to 30 minutes before cooking.
Stove-Top Method:
- Place a cast iron skillet on medium-high heat. Drizzle a little bit of olive oil in the skillet. Add a pita to the skillet and cook for 1 minute or until you see bubbles start to form. Flip and cook the other side for another 1-2 minutes until the underside starts to brown. Continue this method of cooking each of the pitas. Transfer the baked pitas to a clean kitchen towel and wrap them up as you go. Trapping the steam keeps them soft as they deflate.
Oven Method:
- Position an oven rack in the lower third of the oven and place a baking pan or cast iron skillet on it. Preheat the oven to 500°F and let it heat for at least 30 minutes after it reaches temperature. A fully heat-saturated surface is what creates the pocket. Working quickly, transfer 2 pieces directly onto the hot surface. Bake for 2-3 minutes, until the pitas balloon and are just barely starting to turn color. Transfer the baked pitas to a clean kitchen towel and wrap them up as you go. Trapping the steam keeps them soft as they deflate.
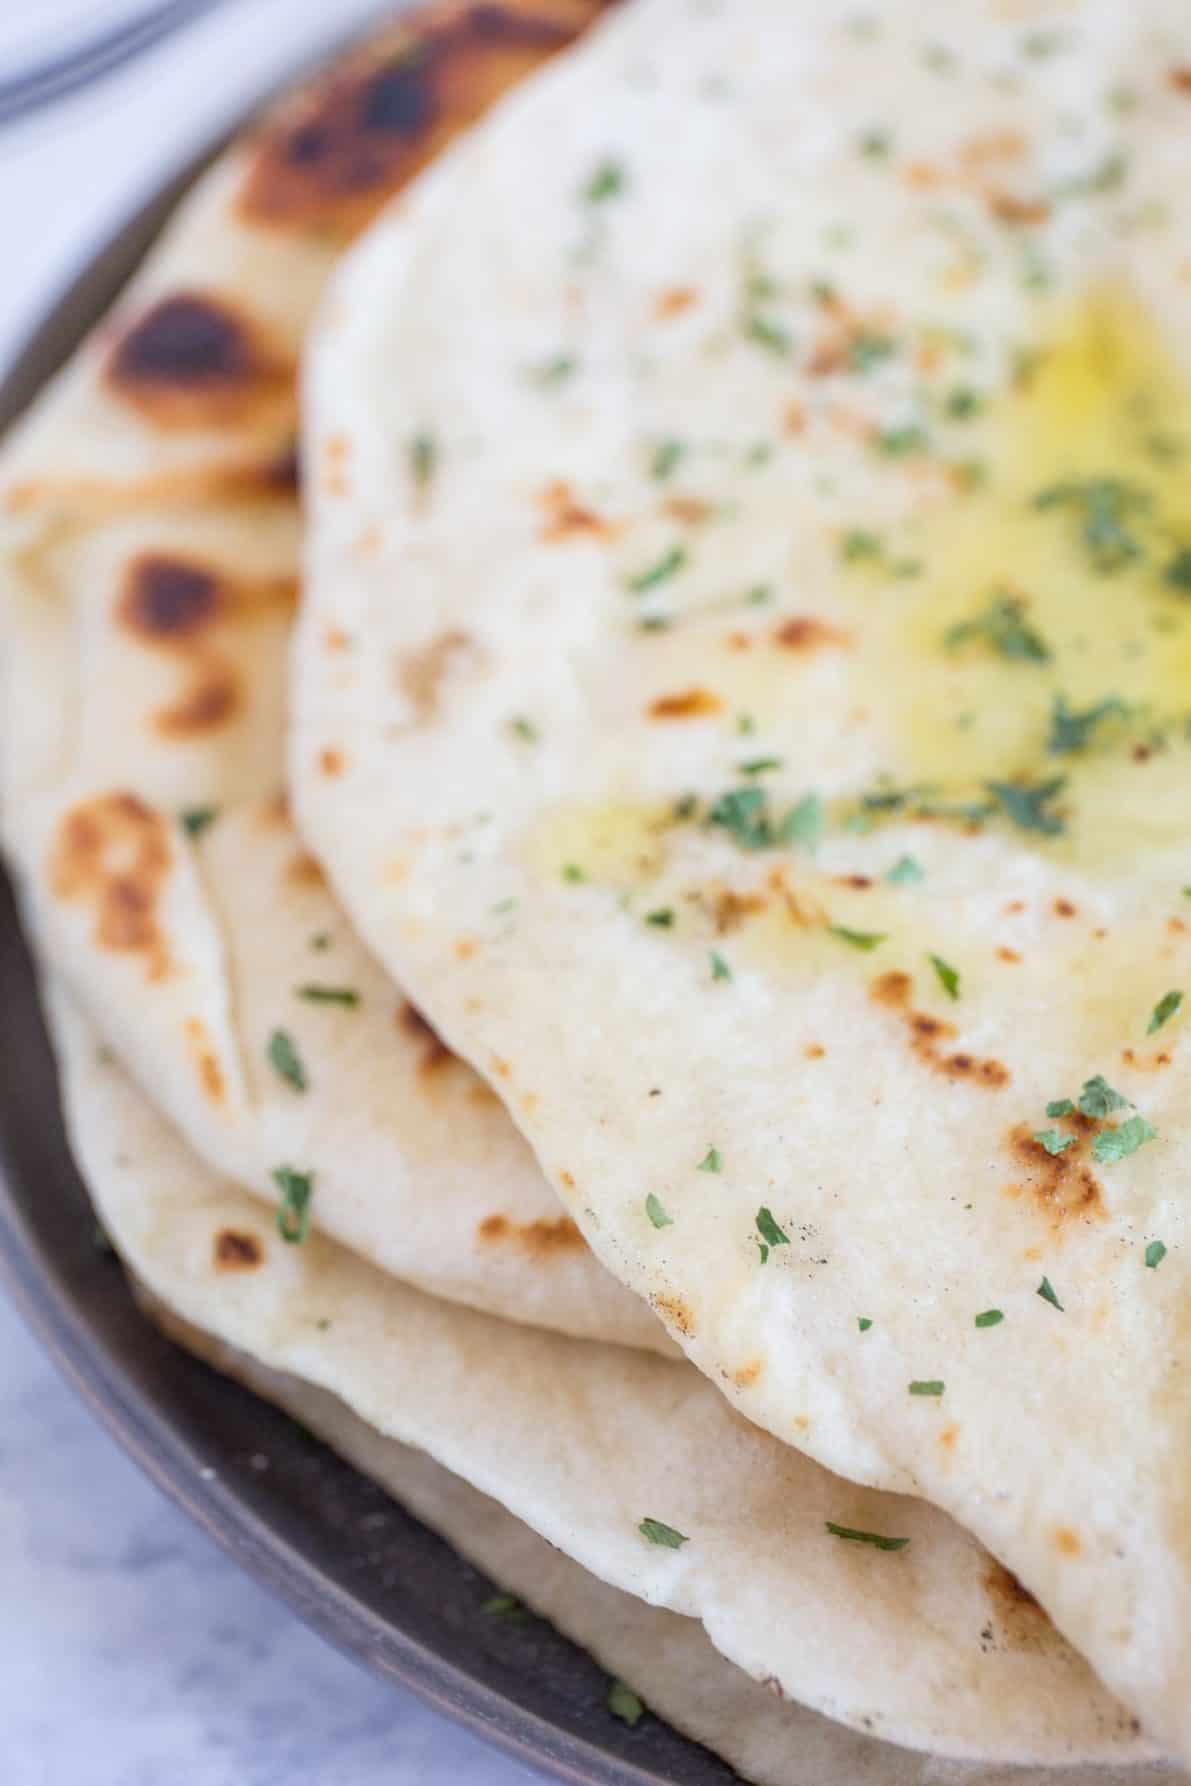
- Serve fresh pita with a dash of garlic powder, sprinkle of parsley, and drizzle of olive oil, if desired. Pita bread can be stored in an airtight container at room temperature for 5-7 days.
🌟Expert Tips
- Use warm, not hot water. The water should feel like a warm bath (about 100-110°F). If it's too hot, it can kill the yeast and your bread won't rise.
- Get your pan hot. High heat is key to creating that signature pocket.
- Roll the dough evenly. Aim for ¼-inch thickness. If it's too thick it won't puff; too thin and it may dry out.
- Cover warm pitas with a towel. This keeps them soft and prevents them from drying out while you finish cooking the batch.
💭 FAQs
This is one of those questions that I always wondered, as the two types of bread look so similar. The main difference is that naan bread tends to be more fluffy and bubbly, whereas pita has pockets that are perfect for sandwiches. Unlike pita bread, naan bread has yogurt, milk, eggs or butter in it to give it a softer texture. Pita bread has much fewer ingredients, just flour, salt, water, and yeast.
Homemade pita bread is obviously best when served warm, but it can be stored for up to 5-7 days in an airtight container or frozen for longer. When you want to serve the bread, just warm it up in the microwave for a couple of seconds.
This can be due to not using high enough heat or not letting the dough rest for long enough. Whatever the case, if this happens your pita bread will still be equally delicious, just call it flatbread and enjoy it just the same!
Pita bread is super versatile, it pairs well with so many dishes! For a classic Mediterranean spread, serve it with Garlic Hummus and Greek Tzatziki Sauce for dipping. It's also the perfect bread for serving Greek Chicken Gyros or stuffing with Crispy Falafel.
For a lighter meal, serve it with Egyptian Cucumber and Tomato Salad or use it to scoop up Shakshuka with Feta for a Middle Eastern-inspired brunch.
You can even brush the pita with olive oil and sprinkle on some Homemade Greek Seasoning for a quick and flavorful flatbread snack.

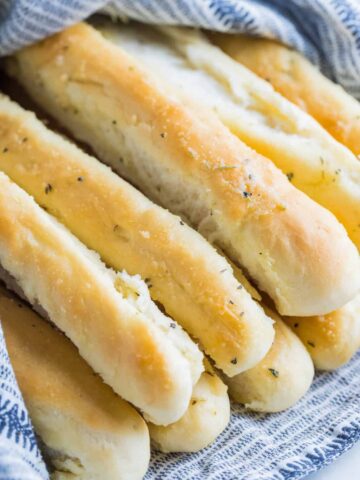
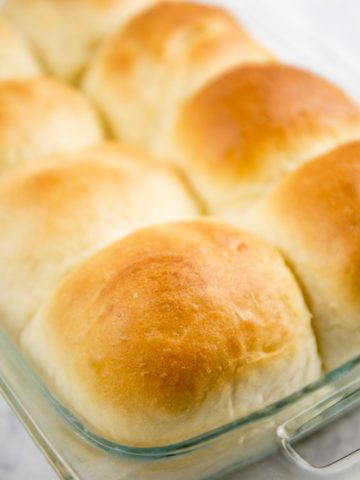
🍞More Bread Recipes to Try
📋 Recipe

Homemade Pita Bread
Equipment
Ingredients
- 1 cup warm water
- 2 ¼ teaspoon active dry yeast
- ½ teaspoon granulated sugar
- 2 ½ cups all-purpose flour
- 2 teaspoon salt
- 1 tablespoon olive oil
- parsley for serving, optional
- garlic powder for serving, optional
- olive oil for serving, optional
Instructions
- Mix the water, yeast, and sugar together in the bowl of a stand mixer. Let sit until the yeast is dissolved, about 5 minutes.1 cup warm water, 2 ¼ teaspoon active dry yeast, ½ teaspoon granulated sugar
- Attach the dough hook. Add in the flour, salt, and olive oil. Mix the dough on medium speed for 8 minutes. The bread can also be kneaded by hand on a floured surface for 5-7 minutes or until smooth.2 ½ cups all-purpose flour, 2 teaspoon salt, 1 tablespoon olive oil
- Lightly oil the bowl before covering with plastic wrap. Let the dough rise until doubled in size, about 1 hour.
- Once risen, turn the dough onto a floured surface. Divide the dough into 8 pieces, rolling each piece into an 8-inch circle. Add extra flour if the dough starts to stick to the counter. If the dough starts to spring back after rolling, allow dough to rest for up to 30 minutes before cooking.
- Stove-Top Method: Place a cast iron skillet on medium-high heat. Drizzle a little bit of olive oil in the skillet. Add a pita to the skillet and cook for 1 minute or until you see bubbles start to form. Flip and cook the other side for another 1-2 minutes until the underside starts to brown. Continue this method of cooking each of the pitas. Transfer the baked pitas to a clean kitchen towel and wrap them up as you go. Trapping the steam keeps them soft as they deflate.
- Oven Method: Position an oven rack in the lower third of the oven and place a baking pan or cast iron skillet on it. Preheat the oven to 500°F and let it heat for at least 30 minutes after it reaches temperature. A fully heat-saturated surface is what creates the pocket. Working quickly, transfer 2 pieces directly onto the hot surface. Bake for 2-3 minutes, until the pitas balloon and are just barely starting to turn color. Transfer the baked pitas to a clean kitchen towel and wrap them up as you go. Trapping the steam keeps them soft as they deflate.
- Serve fresh pita with a dash of garlic powder, sprinkle of parsley, and drizzle of olive oil, if desired. Pita bread can be stored in an airtight container at room temperature for 5-7 days.
Notes
- Storage Info: Homemade pita bread is obviously best when served warm, but it can be stored for up to 5-7 days in an airtight container or frozen for longer. When you want to serve the bread, just warm it up in the microwave for a couple of seconds.
- Oven vs. Skillet: the oven method produces a dramatic pocket for stuffing. The skillet method makes a softer, more flatbread-style pita that's better for dipping and wrapping.


Teddy says
This is my go to pita recipe!
Ashley Amundsen says
I'm so glad you like it!
Ashley Amundsen says
I love how this pita dough is so simple to make and so forgiving. My biggest tip is to make sure your pan is screaming hot, that's what creates the perfect pocket. Homemade pita bread is a million times better than store-bought!
PSam says
Made that for dinner last night and they were SO GOOD! Will never buy pita again. I made a garlic butter to spread over top and I will probably split dough into 16 pieces next time to make some mini pitas to see how that turns out. Thank you for this simple yet delicious recipe!
Ashley says
There's nothing better than homemade pita. I'm so glad you liked this recipe! 🙂